Elevate Your Art: Advanced Paint Techniques for Colorful Plaster Creations
The Aesthetic Appeal of Textured Plaster in Home Decor
Why Textured Plaster is Gaining Popularity
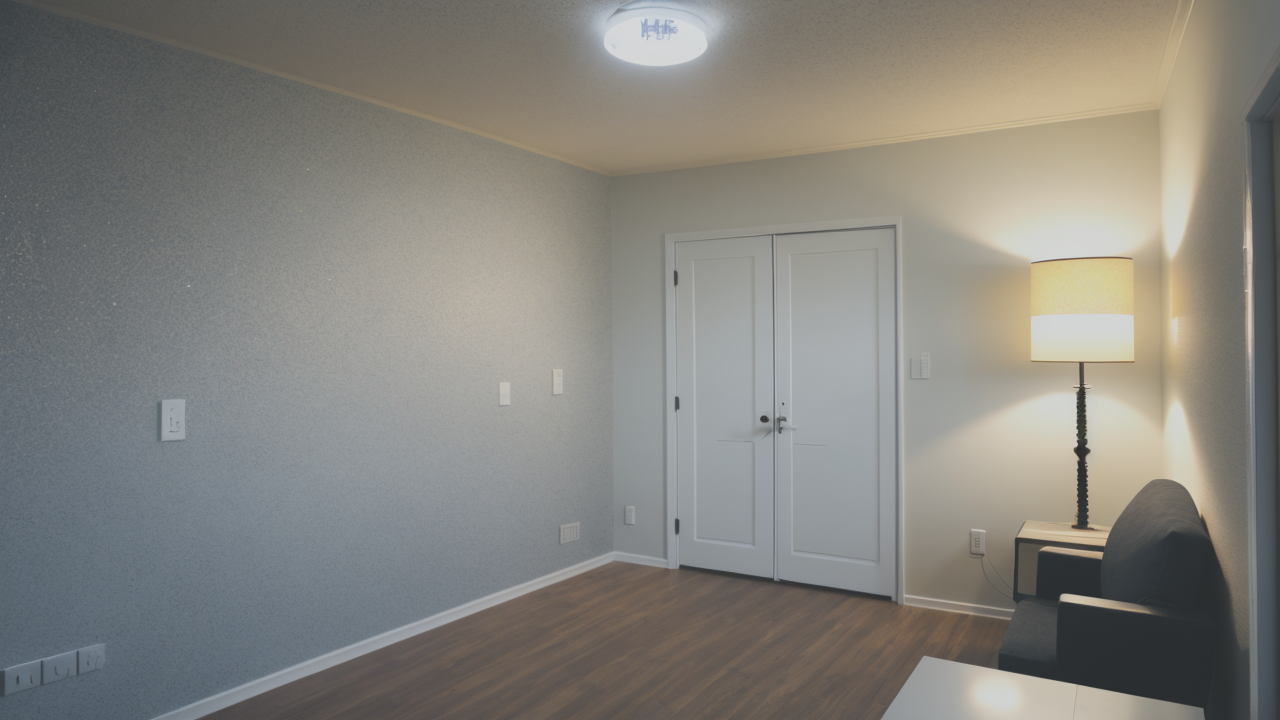
Textured plaster is becoming a hot trend in home decor. It's not just a fad, but a way to add depth and character to walls. People love it for its unique look and feel. It can transform plain walls into stunning works of art.

One reason for its popularity is its versatility. You can create smooth, subtle textures or bold, dramatic ones. It works well in both modern and traditional homes. Plus, it's great for hiding small wall imperfections.
Another appeal is its eco-friendly nature. Plaster is a natural material, free from harmful chemicals. This makes it a hit with health-conscious homeowners. It's also durable and long-lasting, making it a smart investment.
Textured plaster allows for creative expression. You can customize it to fit your style. It's like having a blank canvas on your wall. This DIY-friendly aspect appeals to many homeowners.
The Role of Textured Plaster in Modern Interior Design
In modern interiors, textured plaster plays a key role. It adds warmth and interest to minimalist spaces. Designers use it to create focal points without adding clutter. It's perfect for making statement walls.
Textured plaster fits well with the current trend of organic, natural looks. It can mimic stone, concrete, or even fabric. This versatility makes it a favorite among interior designers. It blends well with various design styles.
It also interacts beautifully with light. The texture catches and reflects light in unique ways. This can change the look of a room throughout the day. It's an easy way to add dimension to flat surfaces.
Textured plaster can also help with acoustics. It can absorb sound, making spaces feel cozier. This is especially useful in open-plan homes or rooms with high ceilings. It adds both visual and functional benefits.
Step-by-Step Guide to Creating Your Textured Plaster Masterpiece
Selecting the Right Plaster for Your Project
Choosing the right plaster is crucial for your project's success. There are several types to consider. Each has its own properties and best uses. Understanding these can help you make the best choice.

Venetian plaster is great for smooth, polished looks. It's often used for elegant, high-end finishes. Lime plaster is popular for its natural, breathable qualities. It's ideal for older buildings or areas with moisture.
For more textured finishes, consider using a coarser plaster. Options include sand-finish plaster or stucco. These create more dramatic textures and are great for rustic or modern looks.
Think about the final look you want. Do you prefer a subtle texture or a bold statement? This will guide your plaster choice. Also, consider the room's humidity level. Some plasters work better in damp areas.
Don't forget to get samples before buying. This lets you see and feel the plaster in person. You can test how it looks in your space and with your lighting. It's a small step that can make a big difference.
Preparation and Application Techniques
Proper preparation is key to a successful plaster project. Start by cleaning the wall thoroughly. Remove any loose paint or wallpaper. Fill in any cracks or holes with spackle. Sand the wall smooth once it's dry.
Apply a primer suited for plaster. This helps the plaster adhere better. It also prevents the wall from absorbing too much moisture from the plaster. Let the primer dry completely before moving on.
When applying plaster, work in small sections. Use a trowel or spatula to spread it evenly. The technique you use will affect the final texture. Try different strokes to see what works best for your design.
For more texture, use tools like brushes or sponges. You can create patterns by pressing objects into the wet plaster. Let each layer dry before adding more. This allows you to build up the texture gradually.
Work slowly and carefully. It's better to take your time than to rush and make mistakes. If you're new to this, practice on a small area first. This helps you get a feel for the technique before tackling the whole wall.
Finishing Touches: Sealing and Preserving Your Artwork
Once your plaster art is dry, it's time for finishing touches. Sealing is important to protect your work. It also enhances the color and texture of the plaster. Choose the right sealer for your type of plaster.
Apply the sealer evenly with a brush or roller. Some sealers may slightly darken the plaster. Test in a small area first to see how it looks. You may need to apply multiple coats for best protection.
For added protection, consider applying a wax coat. This gives a soft sheen and makes the surface easier to clean. Apply the wax in thin layers. Buff it gently for a smooth finish. This step is optional but can enhance the look.
Regular maintenance will keep your plaster art looking great. Dust it regularly with a soft cloth. Avoid using water or harsh cleaners on unsealed plaster. For sealed surfaces, you can use a damp cloth if needed.
Remember, the sealing process can slightly change the look of your plaster. It might deepen colors or add shine. Make sure you're happy with the final look before sealing the entire wall.
Advanced Techniques for Textured Plaster Wall Art
Incorporating Color and Texture for a Dynamic Look
Adding color to your textured plaster can create stunning effects. You have several options for this. One way is to mix pigments into the plaster before applying it. This gives a uniform color throughout.

Another method is to apply color after the plaster has dried. You can use washes of paint or tinted sealers. This allows you to create layered, nuanced color effects. It's great for adding depth to your design.
For more texture, try embedding materials into the wet plaster. Sand, small pebbles, or even glass beads can add interest. You can also carve into partially dry plaster for unique patterns. This creates a 3D effect.
Experiment with different tools to create textures. Combs, sponges, and even crumpled paper can make interesting marks. The key is to be creative and have fun with the process. Don't be afraid to mix techniques.
Remember, contrast is key in creating dynamic looks. Try combining smooth areas with rough textures. Or use different colors in different textures. This can create a really eye-catching wall art piece.
Tips for Large-Scale Wall Art Installations
When working on a large wall, planning is crucial. Sketch out your design beforehand. This helps you visualize the final result. It also guides your application process. You can mark sections on the wall with tape.
Work in sections to keep the plaster from drying too quickly. This is especially important for intricate designs. Use tape or pencil lines to divide the wall into manageable areas. This helps you stay organized.
Consider the viewing distance when planning your texture. Bold textures work well in large spaces. Subtle textures are better for smaller rooms or close-up viewing. Think about how people will see the wall.
For very large walls, you might need scaffolding or a ladder. Ensure you have a stable work surface. Safety should always be your top priority when working at heights. Use proper equipment and take breaks.
Take steps back often to view your progress. It's easy to get caught up in details. Stepping back helps you see how the whole piece is coming together. It's easier to make adjustments as you go along.
Maintaining and Caring for Your Textured Plaster Artwork
Proper care will keep your plaster art looking great for years. Regular dusting is usually enough for day-to-day maintenance. Use a soft, dry cloth or a feather duster. Be gentle to avoid damaging the texture.
Avoid getting water on unsealed plaster. If you need to clean it, use a barely damp cloth. Blot gently rather than rubbing. Let it air dry completely. Never use harsh cleaners on plaster surfaces.
For sealed plaster, you can use a mild soap solution if needed. Always test in an inconspicuous area first. Rinse with a damp cloth and dry thoroughly. Don't let water sit on the surface for long.
Touch up any chips or scratches promptly. Keep some extra plaster and sealer on hand for repairs. This ensures a perfect match to your original work. Small fixes can prevent bigger problems later.
If your plaster art is in a high-traffic area, you might need to clean it more often. Be extra gentle in these areas. Too much cleaning can wear down the texture over time. Consider applying a fresh coat of sealer annually.
With these tips, you can create and maintain beautiful textured plaster wall art. It's a great way to add personality and style to your home. Enjoy the process of creating your own unique masterpiece!


