

The Rise of N Graffiti: Decoding the Latest Trend in Street Art
The Appeal of Plaster in the Art World
Why Plaster is a Favorite Medium for Artists
Plaster is a popular choice among artists for many reasons. It's easy to work with and dries quickly. This allows artists to shape it as they want. Plaster can create smooth or rough surfaces. This makes it great for different art styles. It's also cheap and easy to find. This is good for artists on a budget. Plaster can be painted or left white. This gives artists lots of options. It's great for making detailed sculptures. Many artists like to mix plaster with other materials. This creates unique art pieces. Plaster can be carved after it dries. This adds to its appeal. Artists can easily fix mistakes with plaster. This makes it forgiving to work with.
The History of Plaster in Art and Its Role in Modern Art
Plaster has been used in art for thousands of years. Ancient Egyptians used it for tomb art and masks. Greeks and Romans made copies of sculptures with plaster. In the Renaissance, artists used it for molds. In the 20th century, artists found new ways to use plaster. They made abstract sculptures and wall textures. Today, plaster is still popular in modern art. Artists use it for installations and mixed-media work. Some even use it in digital art. Plaster's long history makes it special. Its many uses keep it relevant today. Artists keep finding new ways to work with plaster. This shows how versatile it is. Plaster bridges the gap between old and new art forms.
Advantages of Using Plaster for Sculpture and Wall Art
Plaster has many benefits for making sculptures and wall art. It's light, so big pieces are easy to move. It's fire-resistant, which is good for indoor art. Artists can add color to plaster easily. They can mix in pigments or paint it later. Plaster can be shaped into any form. This allows for lots of creativity. It's great for making detailed sculptures. For walls, plaster can create unique textures. These textures add depth that paint alone can't make. Plaster is easy to fix if it gets damaged. This helps art last longer. It's affordable, so artists can experiment freely. Plaster works well with other materials too. This versatility makes it a favorite for many artists.
Expert Techniques for Applying Plaster Textures
Preparing Surfaces for Plaster Application
Good prep work is key for plaster art. First, clean the surface well. Remove all dust, dirt, and oil. For walls, fix any cracks or holes. Use spackle and sand it smooth. Then apply a primer. This helps the plaster stick better. For sculptures, make a strong base structure. Cover it with wire mesh or cloth. This gives the plaster something to grip. If working on wood, seal it first. This stops moisture from soaking in. Always wear safety gear when working with plaster. Use gloves and a dust mask. Set up your work area carefully. Cover floors and nearby items with drop cloths. Good prep makes your plaster art look better and last longer.
Step-by-Step Guide to Applying Plaster Textures
- Mix the plaster as directed on the package.
- Apply a base layer with a trowel or spatula.
- Let this layer start to set.
- Create texture using tools like combs or sponges.
- Try different methods like swirling or stippling.
- Add more layers for depth if you want.
- Smooth areas with a wet trowel if needed.
- Let the plaster dry fully before finishing.
Work quickly because plaster sets fast. Keep water nearby to clean tools. Practice on small areas first. This helps you get a feel for the plaster. Don't be afraid to try new things. The best way to learn is by doing. Remember, each layer adds to the final look. Take your time and enjoy the process.
Tips and Tricks for a Flawless Finish
Getting a perfect finish with plaster takes practice. Here are some helpful tips:
- Use fresh plaster each time you mix.
- Keep your tools clean and wet.
- Work in small areas to control the texture.
- Mist the plaster with water to slow drying.
- Sand between layers for a smoother finish.
- Try different tools for unique textures.
- Test ideas on small pieces first.
- Pay attention to room temperature and humidity.
- Let plaster dry fully before painting or sealing.
Be patient and consistent in your work. Take breaks if you need to. It's okay if things aren't perfect at first. With practice, you'll get better. Remember, each piece of art is unique. Embrace the learning process and have fun creating.
Using Plaster for Art in Different Locations
Creating Sculptures with Plaster: Best Practices
Making plaster sculptures needs careful planning. Start with a strong base made of wire or wood. Build up the shape slowly. Let each layer dry before adding more. Use mesh or cloth to help plaster stick to the base. Work in a room with good air flow. Wear safety gear like gloves and a mask. Keep your tools clean as you work. Have water ready to adjust the plaster mix. For big sculptures, use a lighter plaster mix. Add details as you go or wait until the main shape is done. Let the sculpture dry fully before finishing. Handle plaster sculptures with care. They can break easily. Take your time and enjoy making your art come to life.

How to Install Wall Textures with Plaster
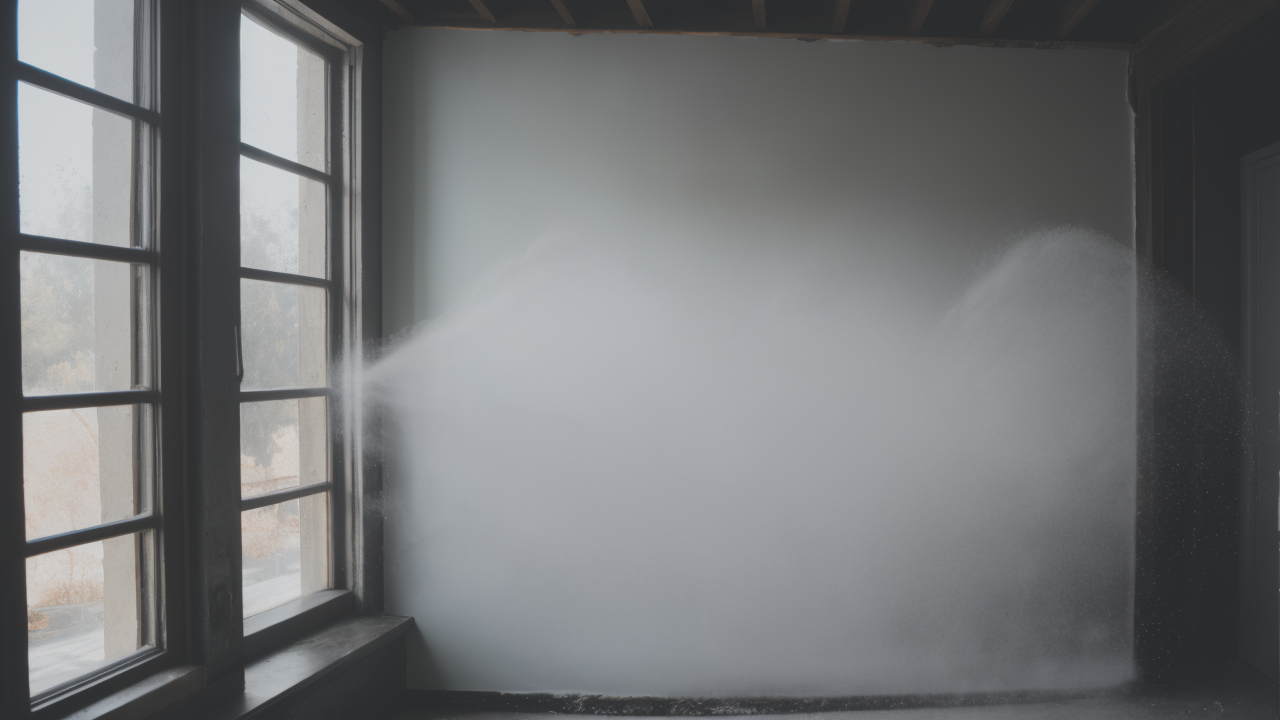
Adding plaster textures to walls can change a room's look. Start by prepping the wall as mentioned earlier. Apply an even layer of plaster across the wall. Once it starts to set, create your texture. You can swirl, comb, or stipple the plaster. Work in sections you can manage. This keeps the look consistent. For big areas, you might use a spray gun. Create depth by adding more layers with different textures. Use stencils if you want precise patterns. Let each layer dry before adding another. When you're done, let it all dry completely. Then seal it to protect the finish. This also makes it easier to clean. Wall textures add a special touch to any room. They can make plain walls into works of art.
Maintaining Plaster Art: Longevity and Care in Different Climates
Taking care of plaster art helps it last longer. In dry places, plaster can crack. Use a humidifier to add moisture to the air. In damp areas, mold can grow on plaster. Make sure the room has good air flow. You can also use special additives in the plaster to stop mold. For outdoor sculptures, use a weather-proof sealer. Clean plaster art gently with a soft, dry cloth. Don't use water to clean it. Water can damage the surface. Fix any chips or cracks in wall textures quickly. This stops more damage from happening. Keep plaster art out of direct sunlight. Sun can make colors fade. Check your plaster art often for problems. Fix issues early to keep the art in good shape. With good care, plaster art can stay beautiful for many years.

