

Expert Guide: Incorporating Nawabi Elements in Textured Plaster Art
Introduction to Plaster Textured Art
The Allure of Textured Art: A Brief History
Textured art has captivated people for centuries. It adds depth and dimension to flat surfaces. The story of textured art begins with ancient cave paintings. Early humans used natural textures to enhance their art.

In ancient Egypt, artists created raised reliefs on temple walls. Greek and Roman sculptures often had textured surfaces. During the Renaissance, artists like Donatello used texture in their sculptures.
The 20th century saw a renewed interest in texture. Artists like Van Gogh used thick paint to create texture. Abstract expressionists like Jackson Pollock embraced texture in their work.
Today, artists continue to explore texture. They use various materials, including plaster. Plaster allows for endless possibilities in creating texture. It can be smooth or rough, fine or bold.
The appeal of textured art lies in its tactile nature. It engages more than just our sense of sight. Textured art invites us to experience it with our eyes and our hands.
Understanding the Basics of Plaster as a Medium
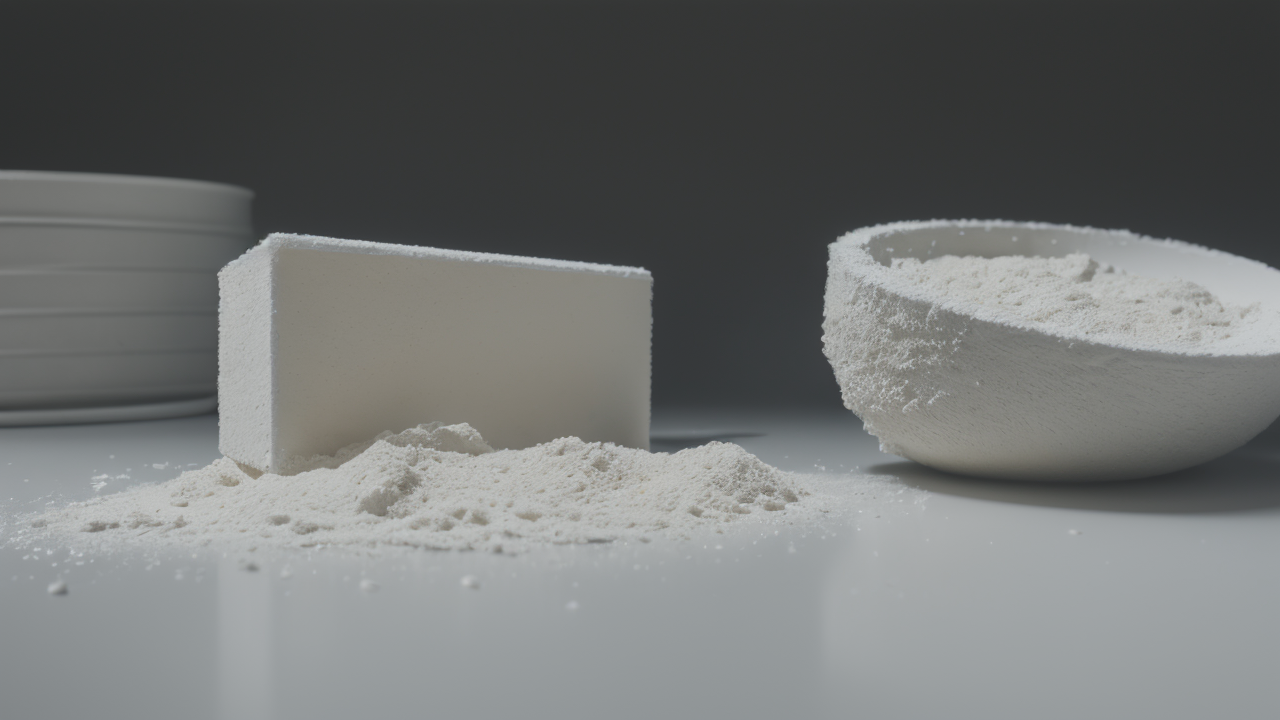
Plaster is a versatile medium for creating art. It's made from a fine white powder called gypsum. When mixed with water, it forms a paste. This paste hardens over time, creating a solid surface.
There are different types of plaster available for artists:
- Plaster of Paris: Quick-setting and easy to use
- Gypsum plaster: Stronger and more durable
- Lime plaster: Traditional and eco-friendly
Each type has its own properties. Artists choose based on their needs and desired outcomes. Plaster can be applied to many surfaces. These include canvas, wood, and walls.
One of plaster's key advantages is its ability to hold detail. It can capture fine textures and patterns. Plaster can be molded, carved, or built up in layers. It also accepts paint well, allowing for further artistic exploration.
Working with plaster requires some practice. But once mastered, it offers endless creative possibilities. It's a forgiving medium that allows for corrections and changes during the creation process.
Developing Your Artistic Voice with Plaster
Exploring Techniques for Texturing Plaster
Plaster offers many ways to create unique textures. Here are some popular techniques to try:

- Combing: Use a comb or fork to create lines or patterns
- Stippling: Dab the plaster with a sponge or brush for a dotted effect
- Scoring: Make shallow cuts or grooves in the wet plaster
- Impressing: Press objects into the wet plaster to create imprints
- Layering: Apply multiple layers of plaster for depth
Experiment with different tools to achieve varied effects. You can use brushes, spatulas, or even found objects. The timing of texture application is crucial. Work quickly while the plaster is wet for smoother results.
Consider the scale of your textures. Fine details work well for small pieces. Bolder textures can make a strong impact in larger works. Try combining different techniques in one piece. This can create interesting contrasts and depth.
Don't be afraid to make mistakes. Some of the best textures come from happy accidents. Keep practicing and refining your techniques. Over time, you'll develop your own unique style of texturing plaster.
Integrating Plaster into Your Existing Artistic Techniques
Plaster can enhance many artistic styles and techniques. Here's how you can integrate it into your work:
- Mixed media: Combine plaster with paint, collage, or other materials
- Sculpture: Use plaster to create 3D forms or add texture to sculptures
- Printmaking: Create textured plates for unique prints
- Photography: Use plaster as a base for alternative process photography
Start by experimenting on a small scale. Try adding plaster to a portion of your work. This allows you to explore its potential without committing to a full piece. As you gain confidence, increase your use of plaster.
Consider how plaster can enhance your artistic message. Its texture can add depth to abstract works. In figurative art, it can create interesting surface variations. The white color of plaster provides a neutral base for further embellishment.
Remember to maintain your unique artistic voice. Use plaster as a tool to amplify your style, not overshadow it. With practice, you'll find ways to seamlessly integrate plaster into your art. Be patient with yourself as you learn to work with this new medium.
Advanced Techniques and Tips
Innovative Tools and Materials for Plaster Texture
As you advance in plaster art, explore innovative tools and materials. These can help you create unique textures and effects. Here are some ideas to consider:
- Silicone molds: Create repeatable textures or patterns
- 3D printed tools: Design custom texture-making tools
- Natural materials: Use leaves, bark, or shells for organic textures
- Fabric: Press textiles into wet plaster for interesting patterns
- Carving tools: Shape and refine dried plaster surfaces
Experiment with additives to alter plaster's properties. Sand can create a gritty texture. Fibers add strength and unique surface qualities. Pigments mixed into wet plaster offer color variations.
Try unconventional application methods. Spray or drip plaster for dynamic effects. Use a palette knife or trowel for bold, gestural textures. Layering different types of plaster can create complex surfaces.
Don't be afraid to combine techniques. You might score the surface, then apply a wash of tinted plaster. Or create a smooth base layer, then build up texture on top. The possibilities are endless.
Keep a record of your experiments. Note what works and what doesn't. This will help you refine your techniques over time. Remember, innovation often comes from unexpected places. Stay curious and open to new ideas.
Maintaining Quality and Safety Standards in Plaster Art
Creating high-quality plaster art requires attention to detail and safety. Here are key points to ensure the best results:
- Use fresh, high-quality plaster for optimal strength and workability
- Mix plaster thoroughly to avoid lumps and ensure even setting
- Work in a well-ventilated area to avoid inhaling dust
- Wear protective gear: gloves, dust mask, and safety glasses
- Clean tools promptly to prevent plaster from hardening on them
Proper storage is crucial for maintaining plaster quality. Keep it in a cool, dry place in airtight containers. This prevents moisture absorption, which can affect its properties.
For large-scale projects, consider using reinforcements. Fiberglass or wire mesh can add strength to plaster sculptures or reliefs. This helps prevent cracking and ensures longevity.
Finishing techniques are important for preserving your work. Seal completed plaster pieces to protect them from moisture and dust. You can use varnish, wax, or specialized sealants designed for plaster.
Document your process and materials used. This helps in replication and troubleshooting. It also adds value to your work, especially for collectors or galleries.
By following these guidelines, you'll create durable, high-quality plaster art. Remember, safety and quality go hand in hand in artistic practice. Take care of yourself and your work, and your art will flourish.

