

Elevating Your Space: Expert Tips for Creating Captivating Wall Art
The Basics of Plaster Texture Painting
Understanding Plaster Art Materials
Plaster is a versatile medium for creating stunning wall art. It comes in various types, each with unique
properties. The most common are gypsum plaster, lime plaster, and cement plaster. Gypsum plaster is popular
for indoor use. It dries quickly and creates smooth finishes. Lime plaster is great for textured looks. It's
often used in traditional art. Cement plaster is tough and good for outdoor pieces. Artists mix additives
into plaster for different effects. Sand adds grit, while marble dust creates shine. Pigments can be mixed in
or applied later. This allows for layered color effects. Choosing the right plaster is key to your art's
success.
Essential Tools for Plaster Painting
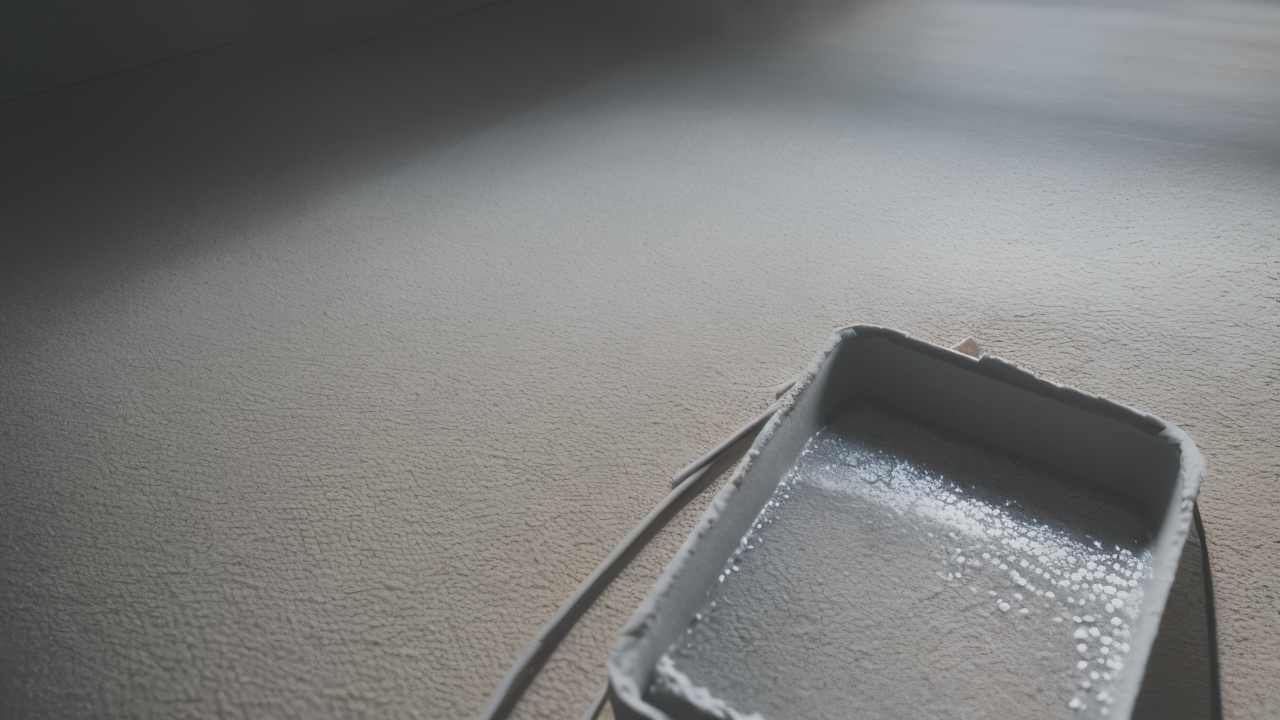
To work with plaster, you need the right tools. A good trowel is a must-have. It helps apply and smooth
plaster. Look for one with a comfortable grip. Palette knives are great for mixing and detailed work. Brushes
add texture and patterns. Choose sturdy ones that can handle thick plaster. A mixing bucket and whisk prepare
your plaster. Texture rollers or stamps create unique patterns. Sandpaper smooths dried plaster if needed.
Don't forget safety gear like gloves and goggles. A dust mask protects you when mixing dry plaster. With
these tools, you're ready to start creating. Each tool offers different ways to shape your art. Experiment to
find what works best for you.
Safety and Preparation in Plaster Art
Safety is crucial when working with plaster. Always work in a well-ventilated area. This prevents breathing
in dust. Wear a dust mask when mixing dry plaster. Protect your eyes with safety goggles. Gloves keep your
hands safe from the drying effects of plaster. Cover your work area with drop cloths. This makes cleanup
easier. Gather all materials before starting. Once mixed, plaster sets quickly. Be prepared to work fast.
Have water ready for mixing and cleaning. Never pour excess plaster down drains. It can harden and cause
clogs. Proper disposal is important. With these safety steps, you can focus on your art. Good preparation
leads to better results and a safer work environment.
Step-by-Step Guide to Mastering Plaster Texture Painting
Preparing Your Canvas
A well-prepared canvas is key to great plaster art. Start with a clean, dry surface. If working on a wall,
fill any cracks or holes. For movable art, use a sturdy board or canvas. Apply a primer to ensure good
plaster adhesion. This also creates an even base color. Let the primer dry completely. Think about your final
look when choosing a base color. You can tint the primer or leave it white. Tape off areas you don't want
covered with plaster. For large pieces, divide the work into sections. This makes the process more
manageable. Good prep work ensures a smooth start. It helps you achieve better final results. Take your time
with this step. It sets the foundation for your entire piece.
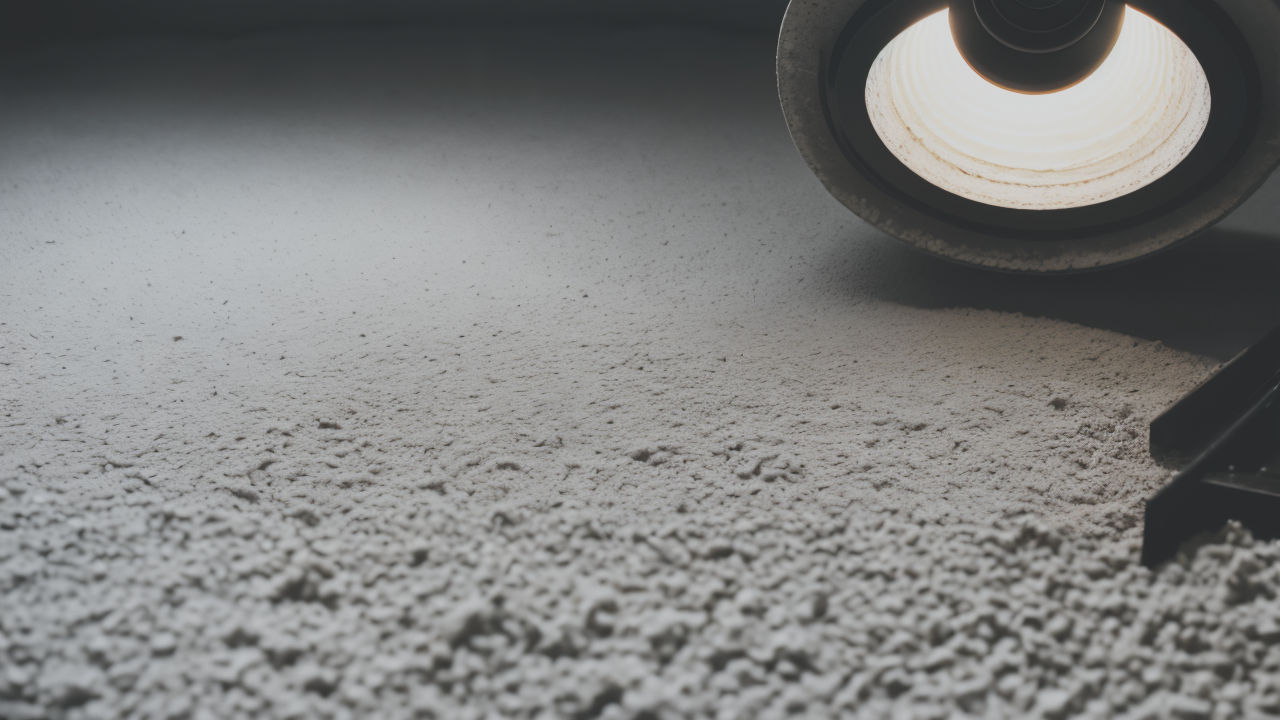
Applying the Texture
Applying texture is where your creativity shines. Mix your plaster according to instructions. Start with a
thin base layer for even coverage. Use your trowel to spread it smoothly. Add more layers for deeper texture.
Create patterns with different tools. Try swirls with a trowel or dabs with a brush. Experiment to find your
unique style. Vary the thickness of your plaster for depth. Consider using multiple colors for a dynamic
look. Work quickly, as plaster sets fast. Don't worry about mistakes. They often lead to interesting effects.
Practice different techniques to improve your skills. Let each layer dry slightly before adding more. This
prevents muddy textures. Remember, texture is what makes your art unique. Have fun exploring different
effects.
The Drying and Curing Process
After applying plaster, the drying and curing process begins. This phase is crucial for your artwork. Plaster
typically takes 24 to 48 hours to dry. The exact time depends on thickness and humidity. Avoid touching the
art during this time. Ensure good air circulation to aid drying. You may notice color changes as it dries.
This is normal. Full curing can take up to a month. During this time, the plaster hardens fully. Avoid
hanging or moving the piece too much at first. Patience during this phase is important. It ensures your
artwork lasts for years. The final result is worth the wait. Use this time to plan your next project. Or
reflect on what you've learned from this piece. Proper curing leads to stronger, more durable art.
Advanced Techniques and Tips for Plaster Artists
Innovative Application Methods
Advanced plaster artists use creative methods for unique textures. Try layering different types of plaster.
This adds depth to your work. Experiment with embedding objects like stones or fabric. Use stencils to create
repeating patterns. Mix plaster with sand or glitter for special effects. Carve into partially dried plaster
for 3D designs. Spray bottles can create subtle textures on wet plaster. Explore color mixing by adding
pigments to layers. Combine plaster with other mediums like paint or resin. Burnish the surface for a smooth,
polished look. These methods take your art to new levels. They allow you to create truly unique pieces. Don't
be afraid to try new things. Sometimes unexpected combinations yield amazing results. Keep experimenting to
develop your own signature style.
Maintaining and Extending the Life of Your Materials
Proper care of plaster materials makes them last longer. Store dry plaster in airtight containers. This
prevents moisture absorption. Clean tools thoroughly after each use. Wash brushes with soap and water right
away. Store trowels and knives clean and dry to prevent rust. Check your plaster often for signs of
hardening. Use older plaster first to keep it fresh. Keep your workspace organized. This helps avoid wasting
materials. Invest in quality tools that will last. They make your work easier and more enjoyable. Properly
stored plaster can last for months. Rotate your stock to use older materials first. Good maintenance saves
money in the long run. It also ensures you always have quality materials to work with. Take care of your
tools, and they'll take care of you.
Troubleshooting Common Issues in Plaster Artwork
Even experienced artists face challenges with plaster. Cracking can occur if plaster is too thick or dries
too fast. Add a humidifier or cover with plastic to slow drying. Bubbles might appear from overmixing. Mix
gently and tap the surface to release air. Poor adhesion often means the surface needs better prep. Always
prime before applying plaster. Uneven drying can cause warping. Ensure even application and good drying
conditions. Colors may not match expectations. Remember, plaster often dries lighter. Test colors before
applying to your final piece. With practice, you'll learn to prevent these issues. Don't get discouraged by
problems. They're part of the learning process. Each challenge teaches you something new. Keep notes on what
works and what doesn't. This helps you improve with each project.

